
LATTICED TUTORIAL
Tutorial written by Marcia Salgado on May 30th, 2015
for those who have a working knowledge of PSP.
Any resemblance to any other tutorial is coincidental.
Do not copy and paste this tutorial anywhere on the net.
If you want to translate please ask first.
****************************************
Material:
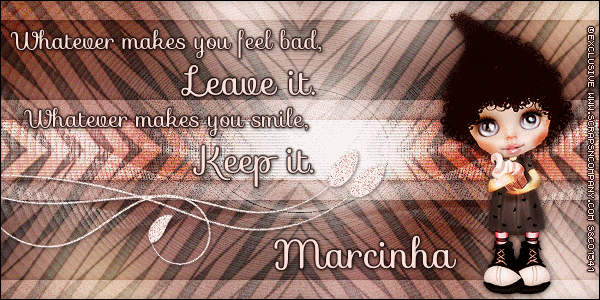
Tube: "Dolly" an Exclusive by Sweet Doll Artist,
you can purchase it at S&Co. here
do not use without the proper #license.
Plugin: Redfield > Lattice Composer 1.02
Simple > Top Left Mirror
Font: Sofia
****************************************
--> Remember to save often and use my tag as reference if necessary. Used the Drop Shadow: 1-1-50-5 in most layers. My Manual Color Correction tutorial can be found HERE.
1. Create a new image of 600x300. Copy your tube and paste as new layer. Apply MuRa's Meister > Copies > Wall Paper(rotate) > Default.
2. Select all. Selections > Clip to Canvas. Image > Crop to selection. Gaussian Blur > 30. Add Noise: Uniform > 10 (Monochrome not marked).
3. Add new layer. Fill it with #FEC5BA. Apply Redfield > Lattice Composer 1.02 > Rags Fall > Default OR, if you do not have the filter, use the mask I provide in my materials, called mar2015_latticed, the effect is similar. Apply Simple > Top Left Mirror. Blend Mode: Soft Mirror. --> In case of be using the mask see the blend mode that better fit the color you're using.
4. Add a new layer. Fill it with white. Apply Narah_Mask_0304. Merge Group.
5. Add a new layer. Custom Selection: Left-0, Top-100, Right-600, Bottom-200. Fill it with #FFE0DB. Deselect. Custom Selection: Left-0, Top-20, Right-600, Bottom-280. Selection > Invert. Fill it with #FFE0DB. Deselect. Add Noise: Uniform-30-Monochrome. Blend Mode: Soft Light. Drop Shadow: 0-0-70-10-Black.
6. Custom Selection: Left-0, Top-120, Right-600, Bottom-180. Delete. Add a new layer. Fill it with white. Blinds: 3-25-Horizontal-Black. Blend Mode: Overlay. Drop Shadow: 0-0-70-10-Black.
7. Used as embellishment a Cybrea PNG Brush. Used #21. Resized and changed the color from Black to #FFE0DB using Manual Color Correction.Free Rotate: Right-90. Move it to left. Duplicate it twice (have a total of three layers with the PNG brush).
8. Rename the layers 1, 2 and 3. Click on layer 3. Add Noise: Gaussian-50-Monochrome. Drop Shadow: 1-1-50-5-Black. Turn this layer invisible. Click on layer 2. Add Noise: Gaussian-50-Monochrome. Drop Shadow: 1-1-50-5-Black. Turn this layer invisible. Click on layer 1. Add Noise: Gaussian-50-Monochrome. Drop Shadow: 1-1-50-5-Black. Let this layer visible.
9. Open your tube. Resize if needed. Copy and paste as new layer. Move it to right. Add a suitable shadow.
--> Add your copyright info and license#. Add your name. I used Sofia Size: 30 Color: #FFE0DB. Add a border #110100. Drop Shadow: 1-1-50-5-Black.
ANIMATION SHOP
1. On PSP -> Click on Edit. Copy Merged. On Animation Shop -> Click on Edit. Paste > As new animation.
2. On PSP -> Turn layer 1 invisible and layer 2 visible. Click on Edit. Copy Merged. On Animation Shop -> Click on Edit. Paste > After Current Frame.
3. On PSP -> Turn layer 2 invisible and layer 3 visible. Click on Edit. Copy Merged. On Animation Shop -> Click on Edit. Paste > After Current Frame. Save as GIF.